Step-by-Step Guide to Inspecting Your Roof for Hurricane Damage
Back to Blog
Step-by-Step Guide to Inspecting Your Roof for Hurricane Damage
September 24, 2024
Quick Guide to Inspecting Your Roof After a Hurricane
When a hurricane strikes, its powerful winds and heavy rains can leave a trail of destruction, often targeting one of the most vulnerable parts of your home—your roof. Inspecting your roof for damage after a hurricane is crucial to prevent further issues and maintain the safety and integrity of your home.
This guide from our JM Roofing team will walk you through the steps to assess your roof’s condition effectively and safely.
Introduction: The Importance of Post-Hurricane Roof Inspections
After a hurricane, your home might have sustained significant damage even if everything appears intact at first glance. Roof damage can range from minor shingle displacements to severe structural issues. Identifying and addressing these problems early can save you from costly repairs in the future and ensure your home remains a safe haven.
Step 1: Ensure Safety First
Before heading up to your roof, prioritize safety. Wear sturdy shoes with good grip, use a stable ladder, and consider wearing a safety harness if you have one. It’s also wise to have someone with you to assist or call for help if necessary. Avoid inspecting the roof during wet or windy conditions.
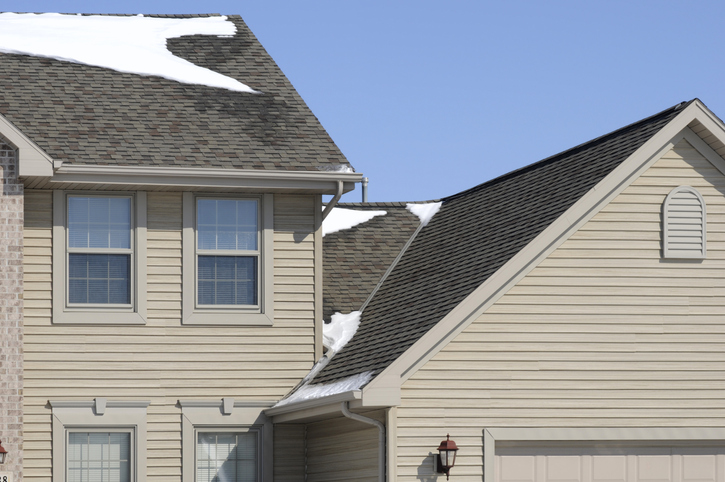
Step 2: Check for Visible Damage
Begin your inspection from the ground. Walk around your house looking for noticeable signs of damage, such as fallen tree branches, displaced shingles, or debris. You could even use binoculars to view the roof’s surface closer without climbing up immediately.
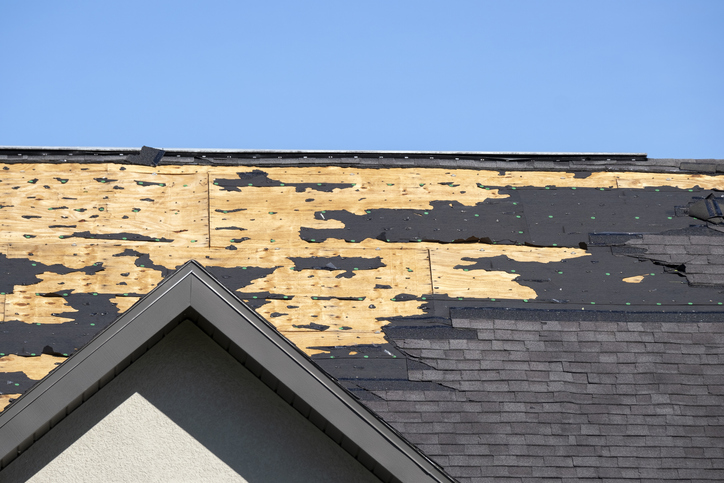
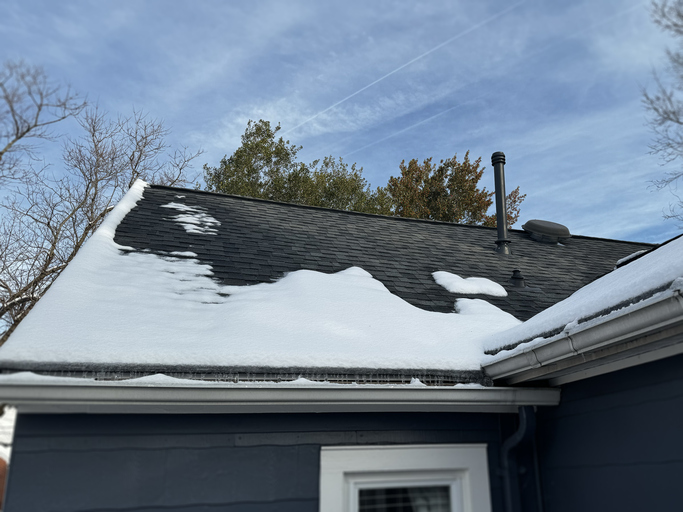
Step 3: Inspect Shingles and Flashing
Once it’s safe to access the roof, carefully check the shingles. Look for missing, cracked, or curled shingles, which can lead to leaks. Pay special attention to the flashing around chimneys, vents, and skylights. Damaged flashing can also allow water to seep in, leading to potential water damage inside your home.
Step 4: Look for Leaks and Water Damage
Head inside the attic to inspect for leaks or water stains. Water might have penetrated the roof, even if the external damage seems minor. Look for discoloration, mold, or damp spots on the attic ceiling or insulation. If you find any signs of water damage, addressing these promptly to prevent further issues like mold growth is essential.
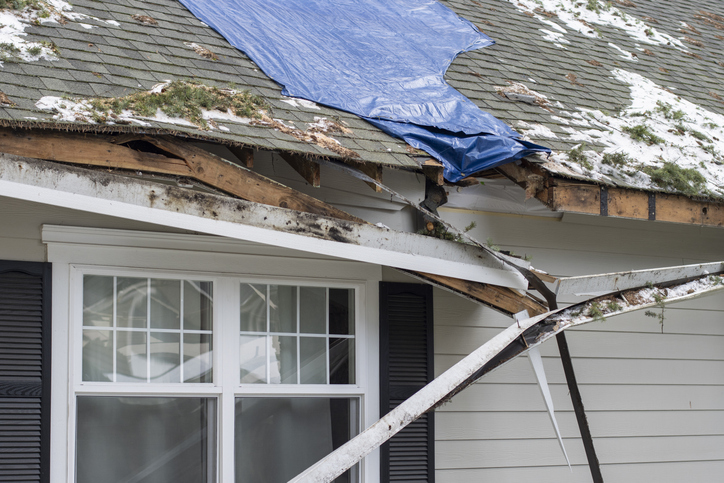
Step 5: Assess Structural Integrity
If you suspect more significant damage, such as sagging or exposed roof decking, the roof’s structural integrity may be compromised. This step might require the expertise of a professional, as these issues can be dangerous to assess on your own.
Step 6: Document the Damage
Take photographs of any damage you find. This documentation will be crucial for insurance claims, helping you provide evidence of the hurricane’s impact on your roof.
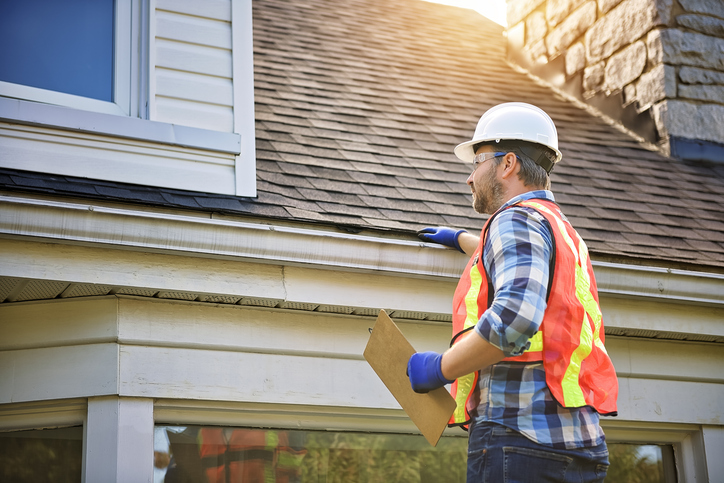
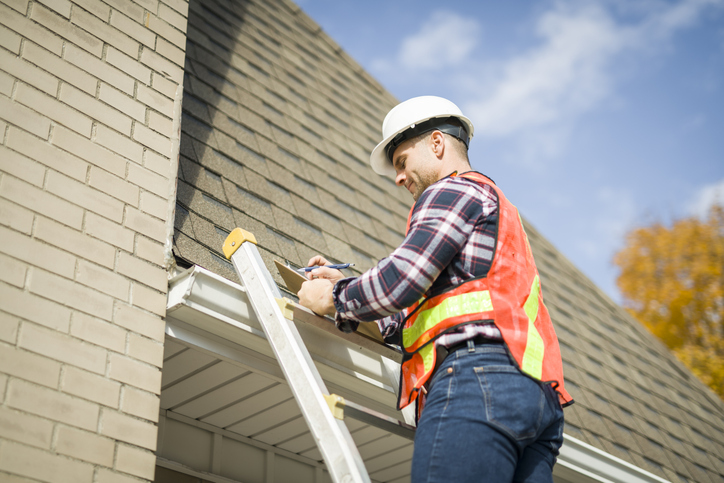
When to Call a Professional
While minor issues like a few missing shingles might be manageable on your own, more extensive damage requires the skills of a professional roofer. If in doubt, having our experts assess and repair your roof is always safer and more cost-effective.
Roofing Professionals in Fairfield County
If your roof needs to be replaced or repaired, our team is ready to help! JM Roofing & Siding of Norwalk, CT, will ensure your roof is durable enough to handle anything because our quality is over your head.
Request a free estimate today at 203-299-0716 or online. We look forward to helping you!
Recent News
Why Regular Roof Inspections Save You Money in the Long Run
January 28, 2026
How to Spot Ice Dams
January 26, 2026
The Importance of Proper Siding Maintenance During Winter
January 22, 2026
Why Winter Roof Repairs Can’t Wait: Protecting Your Home from Damage
January 20, 2026
Top Questions to Ask Before Hiring a Roofing Contractor
December 21, 2025
Winter-Proof Your Roof: Essential Maintenance Tips Before the Snow Hits
December 16, 2025