How to Cover Up a Chain-Link Fence

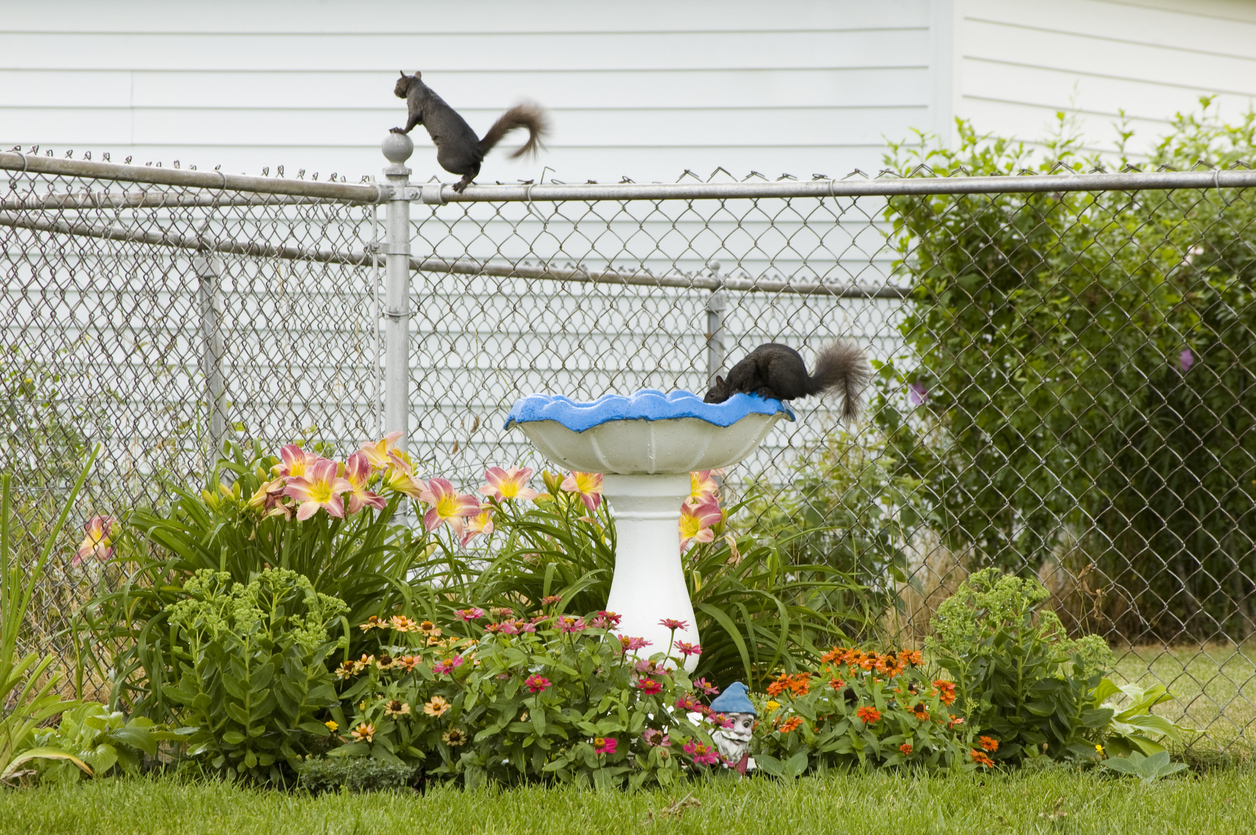
Chain link fences are an inexpensive and easy way to keep your children, pets, and belongings safely inside your yard and keep unwanted items out. However, over time, these fences many can rust or become generally unsightly. Since it can be very difficult to remove this fence, due to the root balls that are buried deep in the ground that hold it in place, your better bet may be to simply hide the fence.

Fence Slats

Being that there are such wide openings in chain-link fences, you can easily slide plastic or aluminum slats in between them to make your fence a bit more visually appealing. These slats are very long-lasting; however, they can be a bit expensive and take a while to install.

Reed Screens

These provide you with decent privacy and can help cover any unsightly chain-link fence for a pretty low cost. The main downside is that reeds start to become discolored and can fall apart after a year or two. If you don’t mind the upkeep, they may be a good option for you.

Mesh Screens

These screens allow water and wind to pass through them but still give you some privacy. Mesh screens are highly durable and are the most cost-effective option for covering a chain-link fence. However, this method is often used for a more utility-based purpose of privacy, so they aren’t designed to be that pretty to the eye.
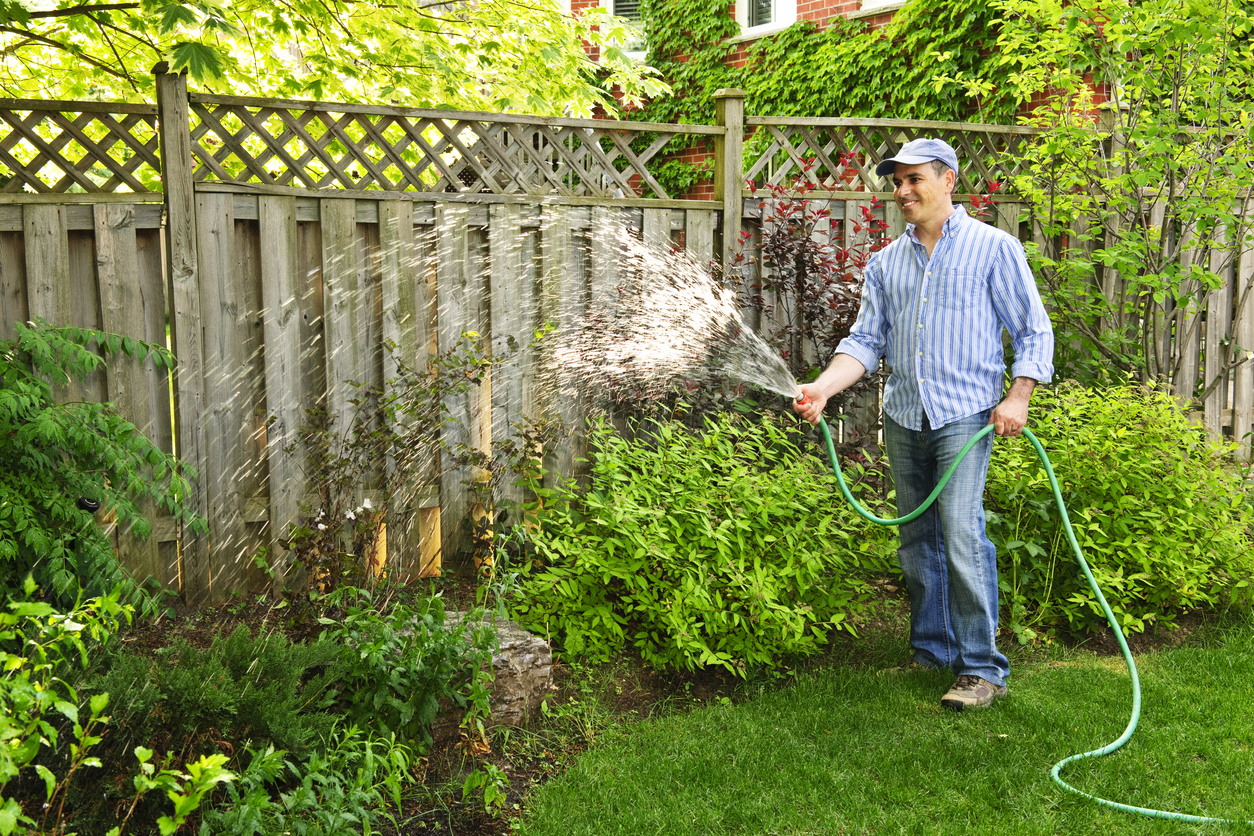
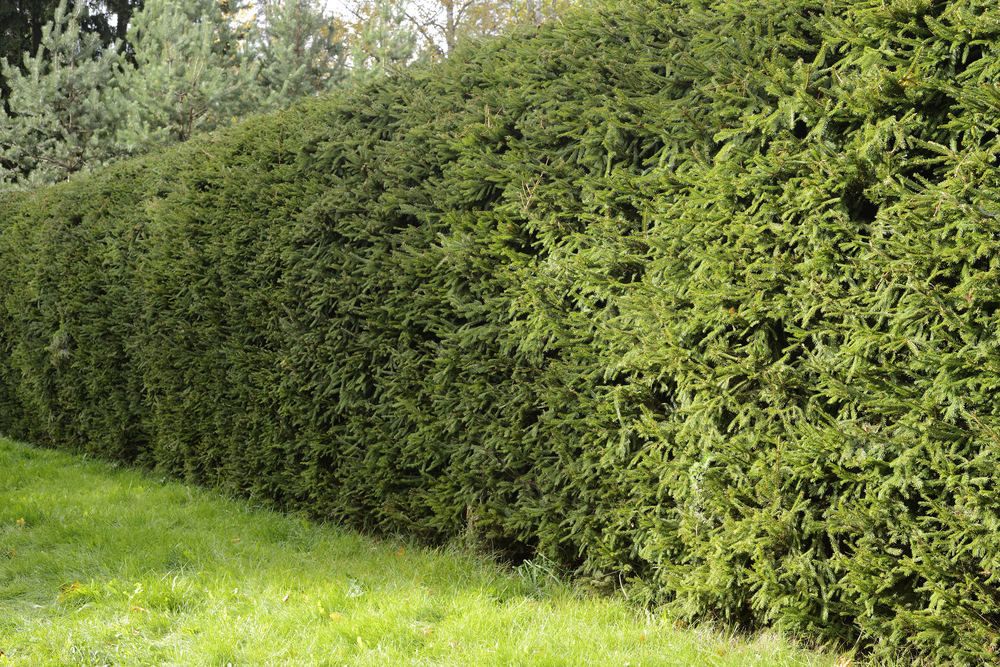
Bushes

If you’re looking to spruce up your yard in the process of covering up a chain-link fence, why not invest in some tall bushes? These add color to your yard as well as unwavering privacy and shade in the hotter months. The main issue here is the cost, since adding shrubbery can be expensive.

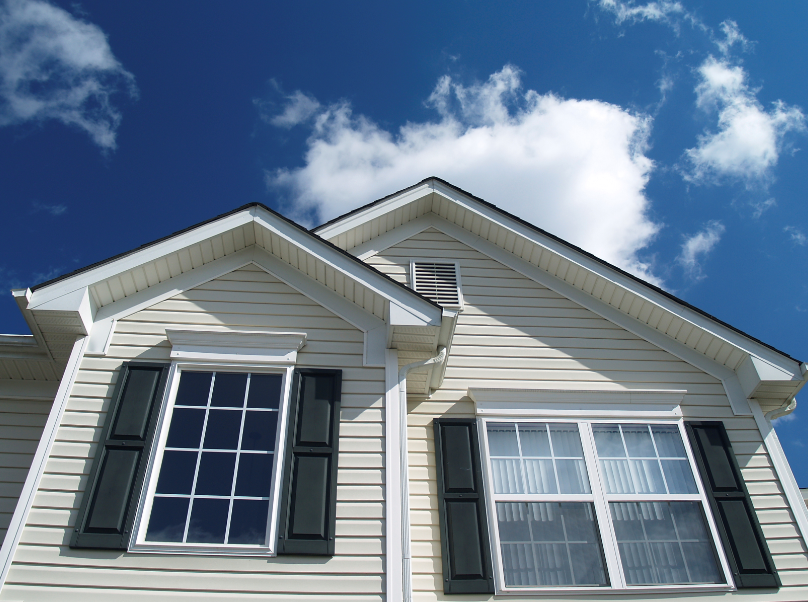
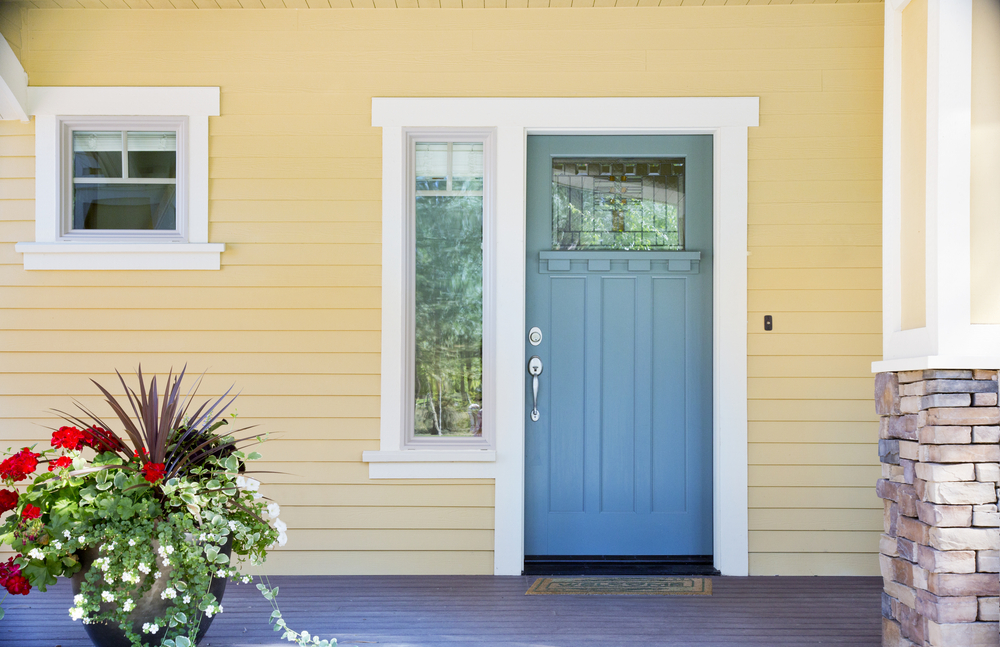
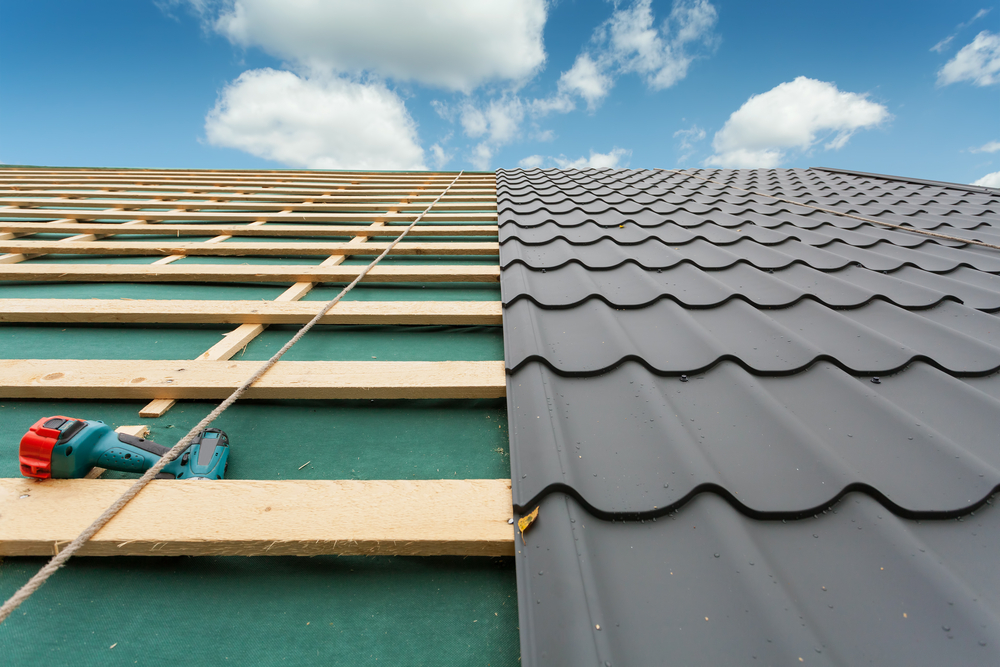
After you improve your yard’s appearance by covering that fence, why not keep it going and update your roofing or siding? The experts at JM Roofing & Siding are here to help with your repair and installation needs — just give us a call to get started!

Where to Air Seal Your Home

When it comes to keeping treated air inside your home and allowing for maximum efficiency, air sealing is one of the best tasks you can add to your to-do list. By sealing up your home, especially when the temperatures are very high or very low, you can prevent air from escaping your home as well as keep your energy costs lower.

But since you can’t exactly put your entire home in an airtight bubble, where exactly are you supposed to seal things up?

Exterior Gaps 

Go around the outside of your home and find places where materials meet — namely, where walls meet your roof, ceiling, and each other. Using either flashing or caulk,  place a seal over the connection spots to ensure that air doesn’t enter or leave your house.

Utility Openings

Both inside and outside of your home, check the spots where vents, electrical wiring, and plumbing enter or leave. Oftentimes, there are gaps between the utility work and the wall itself, so seal up these openings for better efficiency.

The Attic and Crawlspace

These two areas are notorious for allowing treated air to escape your home, so it’s essential to use some air sealing here. In your crawlspace or basement, seal off any holes utility work travels through as well as any cracks in the floor or your foundation. In your attic, seal off spaces around vent fans, lights, or access hatches.

HVAC System

This one may be hard to do it yourself, but do your best to seal off any openings, cracks, or otherwise damaged areas of your HVAC system. Damaged ductwork can account for a lot of heat or cooling loss, so air sealing these areas can make a big difference.

By having your siding and roofing in good condition, you can prevent air from escaping the very first layers of your home’s protection. For all your roofing and siding needs in Norwalk, CT, trust the experts at JM Roofing and Siding. Contact us today for a free estimate!.

Yard Maintenance Tasks for the Start of Fall

When the warmer seasons were here, you did everything you could to ensure that your yard looked tidy and beautiful. That effort shouldn’t stop just because a bit of cold weather is rolling in. Yard maintenance is just as important in autumn as it is in spring. That being said, make sure you follow these tips for early fall yard care.

Get Rid of Leaves

Fallen leaves that cover your lawn prevent your grass from getting air and sunlight; all but killing it. Make sure to rake up leaves, regularly, to allow your grass to get the nutrients it needs to thrive and stay healthy.

Seed and Fertilize

By setting down seed and fertilizing now, you’ll get a jump start on growing your lawn for spring. Plus, by giving your lawn some extra nutrients from fertilizer this early in the game, you can help your grass prepare for the cold, harsh winter ahead.

Kill the Weeds

Since the weather starts getting a bit cooler, weeds are most susceptible to weed killer during the fall. Spray them with your product of choice to completely rid your yard of them and unwanted flowers.

Plant Shrubbery

It may not seem like it, since cold weather is on the horizon, but autumn is actually a great time to plant bushes and other plants in your yard. By doing so now, you give your shrubbery more time to establish roots before it gets too cold — and they will be ready to thrive for spring (which will be here sooner than you think!).

Another maintenance task to ensure your yard is in great shape? Keeping your siding clean and in good condition. For all your siding needs in and around Norwalk, contact JM Roofing & Siding!

How to Keep Your Yard Safe for Your Pet

Every time your kids head outside to play in the yard, you always aware that there’s nothing back there that they could hurt themselves with, right? Well, why wouldn’t you take the same precautions for your fur babies? While you may not think about it, there are plenty of harmful things that could be innocently lying around your yard. Here are a few ways you can keep your yard safe for pets.

Clean Up Your Tools

Did you mow the lawn recently or do a little gardening? Make sure to put away any tools — lawnmowers, shovels, etc. — so your pet doesn’t mistake them for toys or anything to chew on. This is especially true for electric tools that pets could endanger themselves near.

Check the Fence

The last thing you’ll want to experience is the fear of looking into your yard and not seeing your pet. Every so often, take a walk around your yard to ensure your fence is in good shape, there aren’t any holes or broken pieces, and that there are no spots your pet has dug at to get underneath the fence.

Keep Your Grass Trimmed

Long grass provides a perfect home for fleas, ticks, and other pests that can cause a mess of problems for you and your pet. Keep your grass trimmed so there is less of a chance that pests live there and jumping onto your pet.

Watch Your Plants

Not all plants are pet-friendly — in fact, some can be toxic to your furry friends. Check to see if the plants in your yard are safe for your pets in case they nibble on them. If you find that your yard plants aren’t, remove them and replace them with safer ones.

For more yard and home tips, keep up with our blog. And for all your roofing and siding, in Norwalk, give the experts at JM Roofing & Siding a call for a free estimate!

How to Prepare Your Yard for Labor Day Weekend

Ah, Labor Day — the unofficial end of summer! While this weekend may make you a bit sad that one of the warmer seasons is coming to a close, there’s no reason why you can’t go out with a bang. If you’re planning on having some friends and family over to celebrate summer, make sure your yard is ready to welcome everyone and make them feel right at home.

Get Rid of Clutter

Is your yard currently littered with gardening equipment and the kids’ toys? Clean it up! If something doesn’t belong on the lawn, put it away so your guests have plenty of room to walk and roam throughout your party safely.

Clean Off Your Furniture

When was the last time you gave your patio furniture a good scrubbing? Before everyone comes over, use your hose to spray down tables and chairs, followed by throwing any removable cushion covers into the wash to get them beautifully clean. Additionally, if your furniture cushions are torn or otherwise damaged, consider replacing them.

Add Lights

While the sun still sets later on in the day, once the evening hours roll around, you don’t want to be forced to take the party inside— or end it altogether (just because your yard gets dark). Whether you decide on hanging lights, putting solar lamps among walkways, or a few tiki torches, add some lighting instruments to your yard so the fun doesn’t have to stop when the sun goes down.

Clean Your Siding

All the decorations you place around your yard for the party will be diminished if your siding is covered in dirt and other grime. Using either a low setting on a power washer or a soft bristle brush, clean off your siding so your guests will only see a beautiful home.

For all your siding needs around Norwalk, CT, trust the experts at JM Roofing & Siding. We can replace or replace your siding to ensure your home is safe and beautiful year-round. Contact us today for a free estimate.

How to Remove Water Stains from Wood Siding

One of the reasons why people love wood siding is for the pleasing aesthetic and durability it offers their home. However, wood siding also does need to be maintained carefully, and if your maintenance routine becomes lax, you can easily find your siding covered in water stains.

Luckily, there are several things you can do to remove those water stains from your wood siding and restore its appearance.

Wash Stains Away

Sometimes, water stains are caused simply by dirt that has gotten stuck to your siding. In cases like these, dig about a foot-deep hole in the soil next to your siding, use a hose with a spray nozzle to wash off the dirt, and see if the water stains disappear. If they do, continue doing this on other light stains around the house.

Bleach Stains Away

For slightly darker stains, you may be able to lightly bleach them away. Make a solution that is half bleach and half water, and lightly apply it to the water stains — but do not saturate or soak the area. Once the bleach is dry, if the stain hasn’t fully disappeared, consider making the solution 75% bleach.

Note that bleaching the area may make for lighter spots, so practice this method with caution, especially on darker-colored woods.

Sand Stains Away

If you don’t think the water stain has gone too deep into your wood siding, consider lightly sanding it away. For the sake of the wood’s integrity, it’s often better to use sandpaper than an electric sander and to only sand down a thin layer of the wood to remove the stain.

If you’re unable to remove the stains on your own, it is often best to consult professional siders as to what your other options are to remove the stains and restore your wood siding’s appearance. The experts at JM Roofing and Siding are here for all your home siding needs. Give us a call for your free estimate.

The Sins of Vinyl Siding

When it comes to a home’s siding material, one of the most popular options across the board is vinyl. It’s easy to care for and relatively cheap to install — but that’s not to say that it doesn’t have some flaws. If you’re considering choosing vinyl for your home’s siding, there are a few sins you should be aware of that come along with that decision.

Vinyl Isn’t the Best for the Environment

The process used to create vinyl siding gives off nitrogen dioxide and other greenhouse gases into the air, essentially harming the environment. The other issue is that, while it is technically able to be recycled, vinyl siding rarely is. When it’s replaced on a home, it likely will go into a landfill unless measures are taken to ensure otherwise.

It’s Not Wildly Energy-Efficient

Vinyl can be more energy-efficient than some materials, but it definitely isn’t your best option. If you’re truly looking to have energy-efficient siding, you’re better off choosing wood with a high thermal rating.

Vinyl Can Allow for Mold Growth

If there are any areas in which water can enter through your siding, such as cracks, bubbles, or chips, that excess moisture can easily turn into mold growth. If that happens, you’ll likely begin to notice patches of green mold on your siding, which are not only unsightly, but they’re dangerous, too.

If you’re unsure if vinyl is the best decision for you, it’s best to talk to your siding contractor about other options. At JM Roofing and Siding, our expert team can discuss the best siding options for your home and install them once you’ve made a decision. Give us a call today to schedule a service or get a free estimate. 

How to Add Privacy to Your Patio

One of the best parts of any yard, especially during the warmer months, is your patio. Whether you want to relax on your own or have all your friends over, your patio is the perfect place to spend your time at home. But you may be a little deterred from hanging out there if your neighbors and people driving by are able to see your every move. Thankfully, there are several ways you can add privacy to your patio so you can relax there with ease.

Enclose Your Patio

If you’re really looking to add some privacy and add value to your home at the same time, consider enclosing your patio entirely. You can opt for tinted glass or a dark-colored mesh screen – either will provide you with more privacy and add some added value to your home.

Install an Awning

A retractable awning offers multiple benefits when it comes to yard relaxation. Not only does it shade you from the sun or rain, but it can help hide your patio from peeping toms. Worried that your neighbor’s upstairs window directly overlooks your patio? An awning will provide some privacy easily.

Add Some Shrubbery

There are plenty of tall trees and shrubs that will perfectly hide your patio from any nearby onlookers. You can decide to plant them just around your patio area or opt to place them around your entire yard for even more privacy.

While you’re making some adjustments to your yard, you may want to consider upgrading your siding or roofing too! For all your roofing and siding needs in Norwalk, give the experts at JM Roofing & Siding a call!

Tips for Picking a New Front Door

Aside from your shrubbery and your collection of lawn decorations, the first thing a person sees upon approaching your home is your front door. While you may think of it as just a way to enter and exit your house your front door actually acts as a major statement piece,  as well as an important form for safety. If you are considering replacing in your front door, here are a few tips to follow to ensure you pick the best option for you and your home.

Consider Your Budget

One of the first things you should think about when picking a new front door is your budget and how much you’re willing to spend. Front doors come in a variety of materials,  some costing more than others, as do certain designs such as double doors or ones with intricate glass work. 

Since it’s such an important part of your home’s aesthetic and function, you may be willing to spend a little more on the front door of your dreams. But if you’re not, make sure to only look at doors within your budget so you don’t fall in love with one you can’t afford.

Materials

Like we said, different materials stand at different price points and offer different benefits. Some materials include:

  • Solid Wood: These will be your most expensive doors but potentially the most attractive.. Wood doors offer a classic aesthetic and often come in many different styles and makes. However, they do require a good amount of maintenance, compared to other materials.
  • Steel: This material is a bit more affordable and durable, often needing little maintenance.
  • Fiberglass: This material is highly energy-efficient and can be designed to mimic the  look of wood.

The Safety

Something else to consider is  how safe you door is. Besides choosing a material that is strong enough to  withstand any pressure from Mother Nature or potential burglar, you may want to avoid getting a door with a clear window. While the glass may look nice twinkling in the sunlight, it also may give potential Intruders the opportunity to look inside your home four things they could steal.

No matter what front door you choose, it’s also important to make sure that your siding around it is beautiful and in good shape. For all of your siding and roofing needs near Norwalk Connecticut, contact the experts at JM Roofing and Siding. 

Can I Quiet a Metal Roof?

Since metal roofs are sturdy, long-lasting, and often don’t need too much maintenance, they’re a great option for many Connecticut homes. However, some homeowners fear that the metal material will be loud and disruptive, especially when it rains. While your metal roof shouldn’t be that noisy to begin with, if you think yours is a little louder than you’d like, there are a few things you can do to quiet it.

Pick a Quieter Profile

One of the benefits of metal roofs is that they can be used in a number of different profiles and pitches. Certain profiles, such as flat roofs, tend to make less noise than higher pitches and profiles do. If you’re considering replacing your current roof or adding a new metal one, consider going with a flatter profile to prevent noise.

Adjust Your Fasteners

Sometimes, if a metal roof is not installed properly, the fasteners used to hold the pieces in place can be loose misplaced. When this occurs, your roof can contract, expand, or move around during certain kinds of weather, causing the loud noise you may hear.

The noise should subside if you have the fasteners tightened so they better hold your roof in place.

Insulate Your Attic

It makes sense – the more levels sounds would have to travel to, the more muffled it will be. By insulating your attic, you’ll be adding more barriers for any potential noise that could travel into your home. Plus, insulating your attic prevent heat from coming through your home in summer so you stay cooler.

For help with your metal roof in Norwalk, give the experts at JM Roofing & Siding a call today!